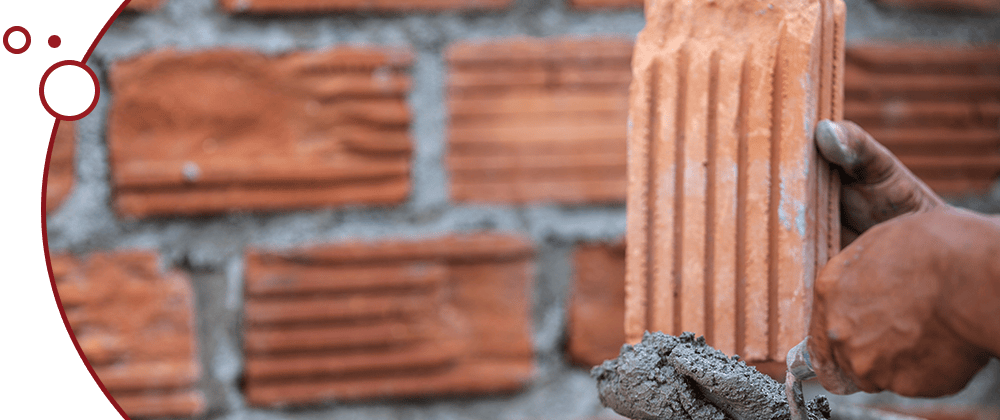
Fireplace brick repair is not just a matter of aesthetics; it’s an essential aspect of maintaining the safety and functionality of your home’s heating system. Over time, the bricks that make up your fireplace can suffer from wear and tear due to constant exposure to heat and other environmental factors. This comprehensive guide aims to provide homeowners with practical advice on how to identify, repair, and prevent future damage to their fireplace bricks, ensuring their fireplace remains a warm and safe centerpiece in their homes.
Table of Contents
Understanding Fireplace Brick Damage
What Causes Brick Damage?
Fireplace bricks are subjected to a unique set of challenges that can lead to damage over time. The most common cause is the intense and fluctuating temperatures they endure, leading to thermal stress. As the bricks expand and contract, small cracks can start to appear. Moisture is another significant factor; water can seep into existing cracks and, when heated, cause the bricks to weaken and eventually break. Physical impacts, such as poking the fire too vigorously or accidental bumps, can also cause damage. Additionally, age and general wear and tear play a significant role; older fireplaces might have bricks that have deteriorated over time.
Signs of Fireplace Brick Damage
Identifying the Warning Signs
Recognizing the signs of damage early can save you from more extensive and costly repairs in the future. The most visible sign is cracking. Cracks can vary in size and visibility, but all indicate some level of damage. Spalling, where the surface of the bricks starts to flake off or chip, is another clear sign. It’s often caused by moisture problems. Deterioration of the mortar – the material that holds the bricks together – is also a critical indicator. If the mortar is crumbling or has gaps, it needs attention. Lastly, if you notice any white staining (efflorescence) on the bricks, it’s a sign of moisture issues that can lead to damage.
Preparing for Fireplace Brick Repair
Gathering Necessary Tools and Materials
Before starting the repair, gather all the necessary tools and materials. You will need:
- A chisel and hammer for removing damaged bricks and old mortar.
- A wire brush to clean the area.
- Mortar mix specifically designed for high temperatures.
- Replacement bricks if any are too damaged to be repaired.
- A trowel for applying the mortar.
- Safety glasses and gloves for personal protection.
- A drop cloth or plastic sheeting to protect the surrounding area.
Step-by-Step Guide to Fireplace Brick Repair
- Removing Damaged Bricks: Start by carefully chiseling out the damaged bricks. Be gentle to avoid damaging the surrounding bricks. Once loose, remove the brick and clean out any old mortar from the gap.
- Cleaning the Area: Use a wire brush to thoroughly clean the area where the new brick or mortar will be applied. This ensures a clean surface for better adhesion of the new mortar.
- Repairing or Replacing Bricks: If the brick is only cracked, you can fill the crack with mortar. If it’s severely damaged, replace it with a new brick. Apply mortar to the sides of the new brick and carefully place it in the gap. Ensure it’s level with the surrounding bricks.
- Sealing and Finishing: Once the mortar has dried, consider applying a sealant to protect the area from moisture. Let the repaired area dry completely, following the mortar manufacturer’s guidelines.
Tips for Effective Fireplace Brick Repair
Choosing the Right Mortar: It’s crucial to use a refractory mortar, which is designed to withstand high temperatures. Regular mortar can crack under the heat of a fireplace.
Safety Precautions: Always wear safety glasses and gloves when working with bricks and mortar. Especially when using chemical sealants, make sure to ventilate the room well.
Preventive Measures for Fireplace Brick Longevity
Regular Maintenance: Inspect your fireplace regularly for signs of damage. Regular cleaning can also prevent ash and soot buildup, which can contribute to deterioration.
Avoid Moisture Damage: Cap your chimney properly to prevent rainwater from entering. Consider using a dehumidifier in damp conditions to protect the bricks from moisture.
Troubleshooting Common Fireplace Brick Repair Issues
Dealing with Persistent Cracks: If cracks reappear after repair, it could indicate a more significant structural issue. In such cases, consult a professional to assess the underlying cause, which could be related to the foundation or chimney structure.
Conclusion
In conclusion, effective fireplace brick repair is key to preserving the longevity and safety of your fireplace. This guide has provided a detailed overview of how to identify signs of damage, execute repairs, and take preventive measures to safeguard your fireplace against future issues. By staying informed and proactive, homeowners can ensure their fireplace continues to be a source of comfort and warmth for many years to come.
FAQs
Q: How often should I inspect my fireplace bricks for signs of damage?
A: We recommend conducting a regular inspection at least once a year. However, if you frequently use your fireplace, checking seasonally is advisable to catch any early signs of wear or damage.
Q: Can I perform fireplace brick repair myself or should I hire a professional?
A: Minor repairs can be a DIY project if you’re comfortable with basic tools. However, for extensive damage or structural issues, it’s safer to hire a professional.
Q: What type of mortar should I use for fireplace brick repair?
A: Use a high-temperature refractory mortar designed for fireplaces. This type of mortar can withstand the intense heat generated by a fire.
Q: How long does it take for fireplace brick repair mortar to dry?
A: Typically, it takes about 24-48 hours for the mortar to set completely. However, it’s important to check the manufacturer’s instructions as drying times can vary.
Q: How can I prevent damage to my fireplace bricks?
A: Regular maintenance and using the fireplace correctly can significantly reduce the risk of damage. Also, ensuring proper ventilation and avoiding excessive moisture exposure helps in maintaining brick integrity.


