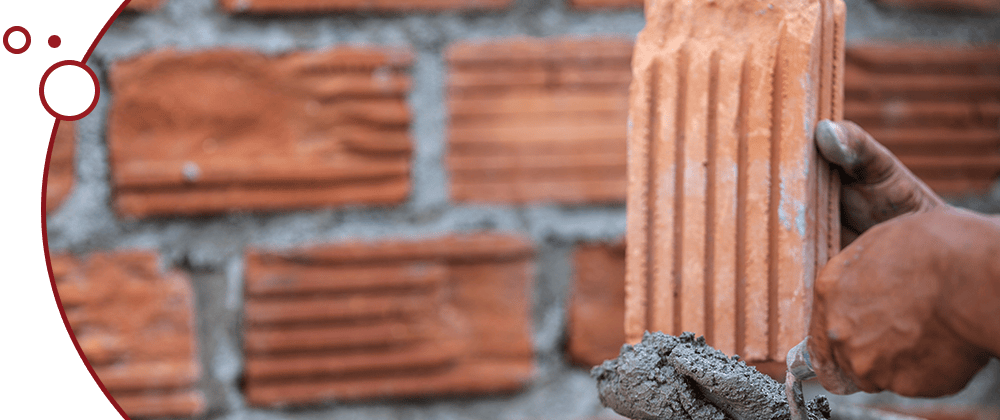
Tuckpoint chimney tasks are often overlooked in home maintenance, yet they play a crucial role in preserving both the aesthetic appeal and safety of your home. This comprehensive guide dives deep into the art of tuckpointing, providing detailed insights and practical advice to ensure your chimney is not only visually appealing but also structurally sound.
Table of Contents
What is Tuckpointing?
Tuckpointing, a critical maintenance technique in masonry, involves the repair or replacement of mortar joints in brickwork. This process is vital for maintaining the structural integrity and aesthetic appeal of brick structures, particularly chimneys. The term ‘tuckpointing’ originates from the process of tucking new mortar into damaged or eroded joints, followed by pointing, or finishing the surface for a uniform appearance.
Historical Background of Tuckpointing
Tracing its roots back to 18th-century England, tuckpointing was initially a method to mimic the appearance of high-quality rubbed brickwork using less costly materials. Over time, it evolved into a standard practice for maintaining the longevity and aesthetics of masonry structures.
The Process of Tuckpointing
The tuckpointing process encompasses several essential steps:
- Mortar Removal: This involves removing the old, deteriorated mortar without damaging the bricks.
- Cleaning: Ensuring clean joints for the new mortar to adhere properly.
- Mortar Preparation: Creating a new mortar mix that matches the original in color and texture.
- Mortar Application: Carefully applying the new mortar into the joints.
- Pointing or Tooling: Shaping the mortar to match existing joints.
- Curing: Allowing the mortar to cure, which varies depending on weather conditions.
The Importance of Tuckpointing Your Chimney
The tuckpoint chimney process is essential for several reasons:
- Water Damage Prevention: Eroded mortar joints can lead to water seepage and subsequent damage.
- Structural Integrity: Ensuring the chimney’s stability and safety.
- Energy Efficiency: Addressing gaps in the mortar can lead to better heating and cooling efficiency.
- Aesthetic Maintenance: A well-maintained chimney enhances the overall look of your home.
When to Tuckpoint
Recognizing the right time for a tuckpoint chimney job is crucial. Signs include mortar erosion, cracking, or crumbling, and loose bricks. Annual inspections can help in early identification of these issues.
Signs Your Chimney Needs Tuckpointing
Identifying when your chimney requires tuckpointing is key to its upkeep. Common signs include:
- Crumbling or Missing Mortar: This indicates an immediate need for tuckpointing.
- Visible Cracks in the Mortar: These can escalate into bigger issues if not addressed promptly.
- Leaks Near the Chimney: A sign that water is penetrating through gaps in the mortar.
- Loose Bricks or Stones: This suggests a compromised chimney structure.
- White Staining on the Chimney’s Exterior: Known as efflorescence, this indicates moisture issues.
DIY Tuckpointing vs. Professional Services
Deciding between DIY and professional tuckpoint chimney services depends on several factors:
Pros and Cons of DIY Tuckpointing
- Pros: Cost-saving, personal satisfaction, and flexible scheduling.
- Cons: Risk of improper repair, safety concerns, and time investment.
Benefits of Hiring a Professional
- Expertise and Quality: Professionals bring skills and experience, ensuring high-quality work.
- Efficiency: Professionals can complete the job faster and more effectively.
Step-by-Step Guide to Tuckpointing a Chimney
A detailed guide for DIY enthusiasts:
- Inspection and Planning: Evaluate the extent of damage before starting.
- Removing Damaged Mortar: Carefully remove the old mortar without harming the bricks.
- Preparing the Mortar Mix: Achieve the right consistency and color match.
- Applying the Mortar: Fill in the joints meticulously.
- Finishing Touches: Smooth and shape the mortar for a uniform look.
- Curing the Mortar: Allow the mortar to cure as recommended.
The Best Mortar Mixes for Tuckpointing
Selecting the appropriate mortar mix is crucial for the durability and appearance of your tuckpoint chimney work:
- Color and Texture Matching: The new mortar should closely resemble the original.
- Compatibility with Brick Type: Different bricks require different mortar types.
- Strength Matching: The mortar should complement, not overpower, the brick strength.
Maintenance Tips After Tuckpointing
Post-tuckpointing maintenance is crucial for extending the life of your chimney:
- Regular Inspections: Look for signs of wear and damage.
- Applying a Waterproof Sealant: This helps in extending mortar life.
- Annual Professional Inspections: These can catch issues early on.
Tuckpointing and Home Value
Tuckpointing can significantly impact your home’s value:
- Improved Curb Appeal: A well-maintained chimney enhances your home’s exterior.
- Safety and Structural Integrity: This can be appealing to potential buyers.
- Improved Energy Efficiency: Properly maintained chimneys contribute to better home efficiency.
Conclusion
In summary, tuckpoint chimney tasks are an integral part of maintaining your home’s safety, efficiency, and aesthetic appeal. This guide has provided an in-depth understanding of the tuckpointing process, its importance, and how it can be effectively carried out, whether DIY or professionally. Regular maintenance and timely repairs ensure your chimney remains a strong, efficient, and visually pleasing aspect of your home, contributing to its overall value and ensuring peace of mind for homeowners. Remember, a well-maintained chimney is not just about aesthetic appeal but about preserving the structural integrity and safety of your living space.
FAQs
Q: How often should I tuckpoint my chimney?
A: Ideally, every 20-30 years, but this can vary based on the chimney’s condition and exposure to elements.
Q: Can I tuckpoint in any season?
A: Tuckpointing is best done in dry, mild weather. Extreme temperatures or wet conditions can affect the curing process of the mortar.
Q: How long does tuckpointing last?
A: Properly done tuckpointing can last up to 25 years. However, this depends on the quality of materials used and exposure to weather conditions.
Q: Is tuckpointing expensive?
A: The cost varies based on the extent of damage and size of the chimney. It is an important investment for maintaining your home’s safety and value.
Q: Can tuckpointing prevent chimney fires?
A: While it doesn’t directly prevent fires, maintaining the structural integrity of your chimney can reduce risks associated with deterioration.


