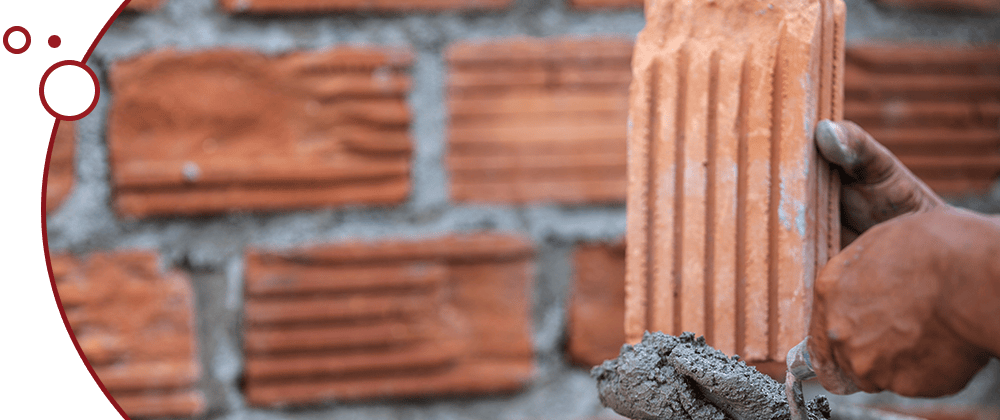
Initiating a do it yourself tuckpointing project is a proactive step towards maintaining and enhancing your home’s brickwork. This task, crucial for masonry upkeep, involves the careful removal and replacement of worn-out mortar between bricks. Not only does this process safeguard against moisture penetration, but it also rejuvenates the aesthetic appeal of your home’s exterior. This guide aims to provide you with comprehensive steps and tips to make your DIY tuckpointing a success.
Table of Contents
Understanding Tuckpointing
Tuckpointing, a specialized technique in masonry, plays a pivotal role in the maintenance and restoration of brick structures. It involves the careful removal of damaged or deteriorating mortar from between the bricks and its replacement with new mortar. This process not only ensures the structural integrity of the masonry but also revitalizes its appearance.
Tuckpointing originated in the 18th century and was initially a method to imitate the high-end look of rubbed brickwork at a lower cost. Today, it has evolved into a crucial maintenance procedure for brick buildings, especially in regions experiencing harsh weather conditions.
Why Tuckpointing is Essential
- Prevents Structural Damage: Moisture is a major enemy of brick structures. When water seeps into the brickwork, it can cause significant damage, especially during freeze-thaw cycles. Proper tuckpointing creates a strong, water-resistant barrier, reducing the risk of crumbling and decay.
- Enhances Aesthetics: Over time, mortar joints can become unsightly due to weathering and wear. Tuckpointing restores the clean, sharp lines between bricks, significantly enhancing the building’s visual appeal and potentially increasing property value.
- Cost-Effective in the Long Term: While tuckpointing may seem like an additional expense, it’s far more cost-effective than extensive repairs or rebuilding. Regular maintenance can extend the life of your brickwork by decades.
Tools and Materials You’ll Need
The right tools are essential for effective tuckpointing. Here’s what you’ll need:
- Tuckpointing or Pointing Trowel: Specifically designed for inserting mortar into joints.
- Mortar Hawk: A flat surface used to hold and carry mortar during work.
- Joint Raker or Grinder: For removing old, damaged mortar without harming the bricks.
- Stiff Brush: To clean out loose mortar and debris from joints.
- Mortar Mix: You can either use pre-mixed mortar or create your own mix using cement, lime, and sand.
- Safety Equipment: Goggles and gloves are essential to protect against dust and sharp objects.
Step-by-Step Tuckpointing Process
- Safety Preparation: Begin by donning your safety gear. This is crucial to protect your eyes from mortar dust and your hands from sharp edges and abrasive materials.
- Joint Cleaning: Carefully remove the old mortar without damaging the surrounding bricks. This requires patience and attention to detail. The goal is to create enough depth in the joint for the new mortar to adhere properly.
- Mortar Preparation: Mixing the mortar to the right consistency is key. It should be firm enough to hold its shape but pliable enough to be worked into the joints.
- Applying the Mortar: Use the tuckpointing trowel to press the mortar into the cleaned joints. Ensure it’s packed tightly and leveled with the brick’s surface.
- Finishing: Once the mortar begins to set, use a jointing tool or a simple piece of wood to smooth the mortar and create a waterproof seal.
Tips for a Successful Tuckpointing Project
- Color Matching: Matching the new mortar to the existing mortar in color and texture is crucial for a seamless and professional look.
- Weather Conditions: Ideal tuckpointing conditions are dry, cloudy days with moderate temperatures. Extreme heat or cold can affect how mortar sets and cures.
- Practice Makes Perfect: If you’re new to this, practice on a small, inconspicuous area first. This will help you get a feel for the work and refine your technique.
Common Mistakes to Avoid
- Overworking the Mortar: This can lead to a weak mortar joint that’s prone to cracking and early failure.
- Color Inconsistency: An incorrect color match can be visually unappealing and may highlight the repaired areas.
- Ignoring Safety Precautions: The importance of using safety equipment cannot be overstated. Protecting yourself from potential hazards is paramount.
Maintaining Your Tuckpointing Work
- Regular Inspections: Periodic checks will help you spot any issues early, allowing for timely maintenance.
- Gentle Cleaning: Use a soft brush and mild detergents to clean your brickwork. Harsh chemicals or pressure washing can damage the mortar.
Conclusion
Do it yourself tuckpointing is a rewarding and achievable project for homeowners. It requires patience, precision, and a methodical approach. By adhering to the outlined steps and tips, you can effectively preserve and enhance your brick structure, ensuring its longevity and aesthetic appeal. Remember, regular maintenance is key to avoiding costly repairs in the future.
Frequently Asked Questions (FAQs)
Q: What Is the Best Season for Tuckpointing?
A: The ideal time for tuckpointing is during the spring or fall. These seasons typically offer moderate temperatures and minimal rainfall, which are conducive for mortar setting and curing. Avoid tuckpointing in extreme temperatures, as hot weather can cause the mortar to dry too quickly, while cold weather can prevent it from setting properly.
Q: How Often Should Tuckpointing Be Done?
A: The frequency of tuckpointing depends on several factors, including the climate, the quality of the previous tuckpointing job, and the age of the building. Generally, it’s recommended every 20 to 30 years. However, buildings in harsh climates or those exposed to more wear and tear might need it more frequently.
Q: Can Mismatched Mortar Cause Problems?
A: Yes, using mortar that doesn’t match the existing mortar can cause both aesthetic and structural issues. Aesthetically, it can make the repair work stand out. Structurally, different types of mortar have varying expansion and contraction rates, which can lead to cracking and deterioration over time.
Q: Is It Necessary to Remove All the Old Mortar During Tuckpointing?
A: No, it’s not necessary to remove all the old mortar. You should only remove mortar that is damaged, crumbling, or loose. Removing sound mortar can unnecessarily weaken the structure of the wall.
Q: Can Beginners Successfully Undertake Tuckpointing Projects?
A: Yes, beginners can successfully complete tuckpointing projects with proper guidance, research, and practice. It’s important to start with smaller, less visible areas to hone your skills before moving on to more prominent sections. Additionally, understanding the right techniques and having the proper tools are crucial for a successful project.


