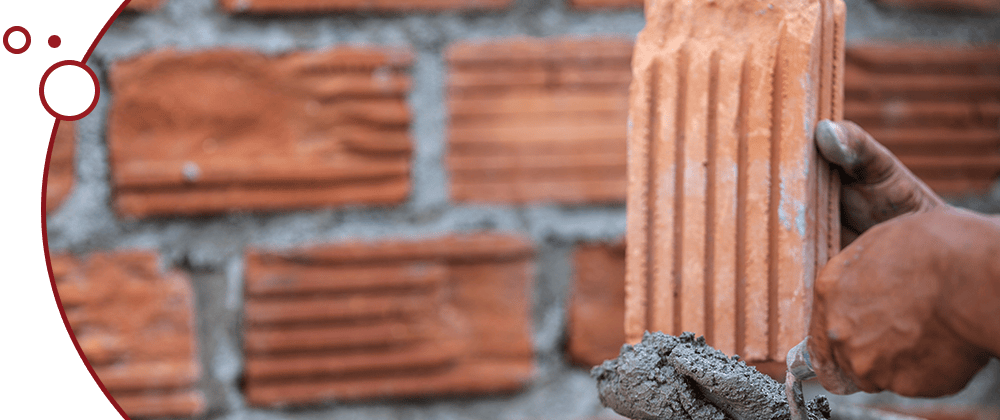
Mixing mortar for tuckpointing is a crucial element in the world of masonry and building restoration. This detailed guide embarks on an exploratory journey into the art and science of tuckpointing – a technique vital for maintaining the aesthetic elegance and structural integrity of brick buildings. From understanding the basics of mortar composition to mastering the application techniques, this article serves as a comprehensive resource for both enthusiastic DIYers and seasoned professionals. By embracing the nuances of this traditional skill, readers will be equipped to enhance the longevity and appearance of their brick structures, ensuring they stand resilient against the tests of time.
Table of Contents
I. Demystifying Tuckpointing
Understanding Tuckpointing
Tuckpointing, a term originating in the 18th century, refers to the process of removing and replacing deteriorated, damaged, or missing mortar between bricks. Traditionally, it involved two contrasting colors of mortar to create the illusion of very fine joints. Today, it’s an essential maintenance technique for masonry, serving not only for aesthetics but also to ensure the structural stability of brick constructions by preventing moisture penetration and related damage.
The Basics of Mortar in Masonry
Mortar, a blend of cement, lime, sand, and water, is pivotal in masonry. It acts as a bonding agent, securing bricks or stones in place. Beyond its adhesive properties, mortar also compensates for the irregularities in brick or stone sizes, ensuring a uniform, stable structure. The strength, durability, and resilience of a brick structure depend significantly on the quality of the mortar used.
II. The Perfect Mortar Mix
Ingredients and Their Roles:
The ideal mortar mix for tuckpointing should have:
- Cement: Provides strength.
- Lime: Offers flexibility and prevents cracking.
- Sand: Adds bulk and texture.
- Water: Reacts with cement and lime to bind the components.
The ratio typically used is 1 part cement, 1 part lime, and 6 parts sand, but this can vary based on the specific requirements of the project.
Mixing Techniques for Optimal Consistency
Start by dry mixing cement, lime, and sand. Gradually add water until a thick, creamy consistency is achieved. Mix thoroughly to avoid lumps. The right consistency is crucial – too wet, and the mortar will slump; too dry, and it won’t bond well. Always mix in small batches to maintain consistency.
III. Tools and Techniques for Tuckpointing
Essential Tools
Key tools include trowels (for applying mortar), jointers (for shaping joints), hawks (for holding the mortar), and pointing tools (for fine work). Also, safety gear like gloves and goggles are essential.
Application Techniques
Begin by carefully removing old mortar without damaging the bricks. Dampen the surface before applying the new mortar. Use the trowel to apply and press the mortar into the joints, ensuring it’s compact and level with the brick surface. Use jointers for a smooth, finished look.
IV. Advanced Tips and Common Pitfalls
Expert Advice:
For a professional finish, color match the mortar to existing joints, especially in older buildings. Experiment with sample mixes to find the right color. Adjusting the sand type can also influence texture and color.
Troubleshooting Common Issues
Common issues include cracking (due to a too-dry mix or rapid drying), color mismatch, and mortar shrinkage. Solutions involve adjusting the mix, careful application, and ensuring gradual drying.
V. Post-Tuckpointing Care and Maintenance
Maintaining Tuckpointed Surfaces
Regular inspections for cracks or damage, gentle cleaning, and immediate repairs of any small damages can prolong the life of tuckpointing.
Longevity of Tuckpointing
The lifespan of tuckpointing can be several decades, but it varies based on environmental factors, the quality of materials, and the proficiency of application. Regular maintenance can significantly extend its durability.
Conclusion
In conclusion, tuckpointing is more than just a maintenance task; it’s a preservation art that breathes life into old masonry while fortifying it for the future. The success of tuckpointing lies in the precision of mixing and applying the mortar, coupled with the understanding of its long-term care. This guide aims to demystify the process, providing a pathway to achieving not only an aesthetically pleasing outcome but also ensuring the longevity and durability of the work. Whether you are a DIY enthusiast tackling a home project or a professional mason perfecting your craft, the insights and techniques shared here will prove invaluable. Remember, the beauty of a well-tuckpointed structure lies in the details, and with the right approach, you can ensure that this beauty is preserved for years to come.
FAQs
Q: What is the best mortar mix ratio for tuckpointing?
A: The ideal ratio is typically 1 part cement, 1 part lime, and 6 parts sand. This can vary depending on the specific needs of the brickwork.
Q: How do I ensure the mortar matches the existing mortar in color and texture?
A: Test small batches with varying sand types and colors to match the existing mortar. Adjust the mix ratio if necessary for texture.
Q: What are the common mistakes to avoid while doing tuckpointing?
A: Avoid mixing overly wet or dry mortar, damaging bricks during old mortar removal, and neglecting to match the mortar color and texture with the existing one.
Q: How often should tuckpointing be redone?
A: Tuckpointing typically lasts several decades, but it should be checked regularly and redone if there are signs of wear or damage.
Q: Can tuckpointing be a DIY project or should it be left to professionals?
A: You can tackle tuckpointing as a DIY project if you’re adept at mixing mortar for it. Success hinges on mastering the right mortar mix technique and its skillful application between bricks. Beginners must research and follow guidelines on mixing mortar for tuckpointing to ensure work integrity and appearance. While DIY tuckpointing can be rewarding, it demands patience, attention to detail, and a good understanding of masonry tools. If the tuckpointing project is complex, consider hiring experienced professionals for a durable and attractive result.


