Flaking brick repair is a crucial aspect of preserving the structural integrity and aesthetic charm of brick structures. This detailed guide delves into effective methods for addressing the common issue of flaking bricks, a challenge many homeowners face. Understanding the causes, identifying early signs, and learning step-by-step repair processes are essential in maintaining the durability and beauty of brickwork. Equipped with the right knowledge and tools, you can ensure that your brick structures withstand the test of time.
Table of Contents
Understanding Flaking Brick
This section would delve into the fundamentals of flaking (or spalling) in bricks. It would cover the natural aging process of bricks and how environmental factors like temperature changes, moisture, and even chemical reactions contribute to the deterioration of brickwork. The goal is to provide a solid foundation of knowledge about why and how bricks start to flake, setting the stage for understanding the repair process.
What Causes Flaking in Bricks?
- Weathering and Environmental Factors: Flaking, also known as spalling, often occurs due to constant exposure to varying weather conditions. Temperature fluctuations, especially in areas with freezing and thawing cycles, can cause bricks to expand and contract, leading to surface breakdown. Moreover, environmental factors like acid rain and pollution can chemically react with the brick materials, accelerating deterioration.
- Moisture Damage and Efflorescence: Moisture is a primary culprit in flaking brickwork. Water seeping into the bricks can lead to efflorescence, where salt deposits crystallize on the brick surfaces, causing them to flake. Persistent moisture can also weaken the brick’s structure, leading to more severe damage like cracks or crumbling.
- Poor Brick Quality or Installation: Using low-quality bricks or improper installation techniques can make brickwork more susceptible to flaking. Factors such as insufficient mortar strength, incorrect mortar mix, or poorly filled mortar joints can significantly reduce the longevity and resilience of brick structures.
Recognizing the Signs of Flaking Bricks
In this part, the focus would be on how to identify the early signs of flaking bricks. This includes visual cues like chipping or crumbling of the brick surface, changes in color, and the appearance of cracks. It’s crucial for homeowners to detect these signs early, as early intervention can prevent more significant damage and save on repair costs.
- Visual Inspection Tips: Regularly inspect your brickwork for any signs of damage. Look for areas where the brick surface appears to be crumbling or where pieces of brick are falling off. Also, pay attention to discolored or white-stained areas, which could indicate efflorescence.
- The Importance of Early Detection: Early detection of flaking can prevent more significant damage. Addressing flaking issues promptly can save time and money, as minor repairs are less costly than extensive restorations.
Preparing for Flaking Brick Repair
This section would guide readers on how to prepare for a flaking brick repair project. It would list the necessary tools and materials required for the job, like chisels, hammers, mortar mix, and safety equipment. It would also emphasize the importance of safety measures and setting up the work area to avoid accidents and ensure a smooth repair process.
Gathering the Right Tools and Materials
- List of Essential Tools: To undertake flaking brick repair, you will need a chisel, hammer, trowel, wire brush, safety goggles, gloves, dust mask, and a stiff-bristled brush.
- Selecting Quality Repair Materials: Choose high-quality materials for the repair. This includes matching the new mortar to the existing mortar in terms of color, composition, and strength. Use weather-resistant bricks for replacements to ensure longevity.
Safety Precautions and Preparatory Steps
- Personal Protective Equipment: Always wear safety goggles, gloves, and a dust mask to protect yourself from brick dust and debris during the repair process.
- Preparing the Work Area: Clear the work area of any obstacles and cover nearby surfaces to protect them from dust and debris. Ensure that the area is well-ventilated.
Flaking Brick Repair: A Step-by-Step Guide
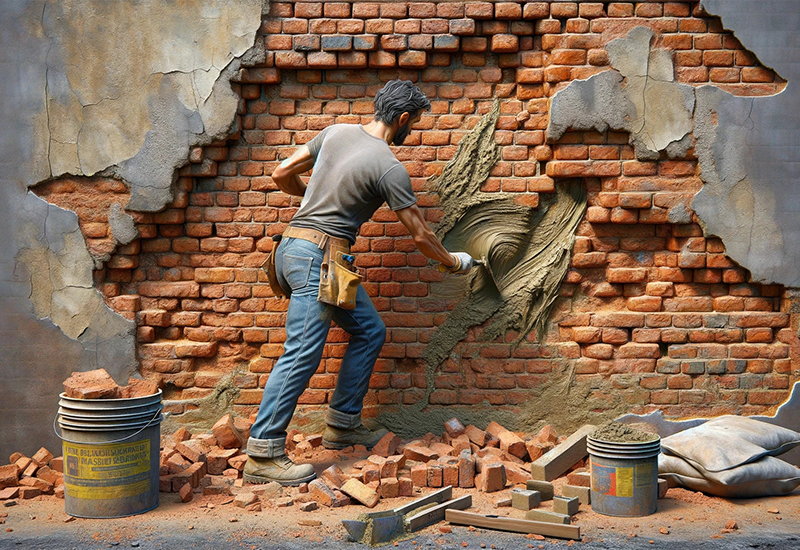
Here, the article would provide a detailed, step-by-step guide on repairing flaking bricks. It would cover the entire process, from safely removing damaged bricks and cleaning the area to correctly mixing and applying mortar, and placing new or repaired bricks. This part is crucial as it gives DIY enthusiasts and homeowners clear, actionable instructions for effective repairs.
1. Cleaning and Removing Loose Bricks
- Techniques for Safe Removal: Carefully chisel out the affected bricks without damaging the surrounding ones. Use a hammer and chisel to gently tap and loosen the bricks.
- Cleaning the Area: Once the loose bricks are removed, clean the cavity using a wire brush to remove any loose mortar and debris.
2. Repairing the Mortar
- Mixing the Right Mortar: Prepare the new mortar by following the manufacturer’s instructions. Ensure the mix is consistent and matches the existing mortar in color and texture.
- Techniques for Applying Mortar: Apply the mortar to the cavity using a trowel. Press the mortar firmly to ensure there are no air pockets and it’s well-aligned with the existing mortar joints.
3. Replacing or Repairing Bricks
- How to Choose Replacement Bricks: Select bricks that match the existing ones in size, color, and texture. Weather-resistant bricks are preferable for durability.
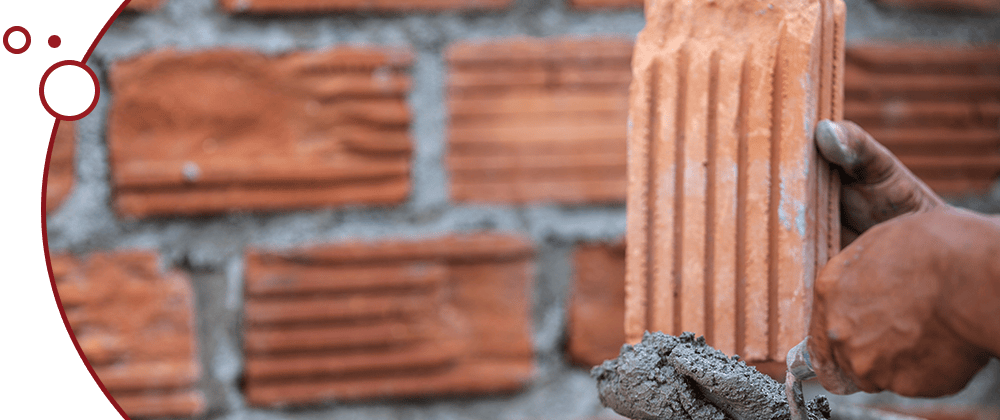
- Step-by-Step Brick Replacement Process: Place the new brick into the cavity and gently tap it into position. Ensure it’s level and flush with the surrounding bricks.
4. Curing and Sealing
- Proper Curing Techniques: Allow the mortar to cure as per the manufacturer’s instructions. Avoid exposing the new mortar to extreme temperatures during the curing period.
- Sealant Application for Longevity: Once cured, apply a breathable sealant to protect the brickwork from moisture and environmental factors.
Maintenance and Prevention
After addressing the repair process, this section would focus on the maintenance of brickwork to prevent future flaking. It would cover regular maintenance routines, including cleaning and inspecting brick surfaces, along with preventive measures like applying sealants and ensuring proper drainage around the brick structures to avoid moisture buildup.
Regular Maintenance Tips
- Inspection Schedules: Schedule regular inspections of your brickwork, especially after extreme weather events.
- Cleaning and Protective Measures: Clean your brickwork with a gentle, non-acidic cleaner and stiff-bristled brush to prevent buildup of dirt and pollutants.
Preventive Measures to Avoid Future Flaking
- Weatherproofing Solutions: Apply weatherproofing treatments that allow the bricks to breathe while providing protection from moisture.
- Addressing Moisture Issues: Ensure good drainage around your home to prevent water accumulation. Repair any plumbing leaks promptly.
Additional Considerations
This part would address when and why it might be necessary to call in professional help, highlighting the signs that indicate the need for a professional mason. It would also guide readers on how to choose a qualified contractor and offer advice on budgeting for both repairs and ongoing maintenance, helping homeowners manage the financial aspects of brickwork upkeep.
When to Call a Professional
- Signs That You Need Professional Help: If the flaking is widespread or the structure appears to be compromised, it’s best to consult a professional.
- Finding a Qualified Contractor: Look for contractors with experience in brick restoration and check their references and portfolio of previous work.
Costs and Budgeting for Flaking Brick Repair
- Estimating Repair Costs: The cost of repair can vary based on the extent of damage, the quality of materials, and labor rates in your area.
- Budgeting for Maintenance: Allocate a budget for regular maintenance to prevent future flaking and to prolong the life of your brickwork.
Conclusion
In conclusion, successful flaking brick repair not only enhances the visual appeal of your property but also reinforces its structural strength. This comprehensive guide aims to empower homeowners with the knowledge and techniques required for effective brick maintenance. Regular upkeep, combined with prompt repair actions, will ensure the longevity and resilience of your brick structures, preserving their beauty and functionality for years to come.
FAQs
Q: How often should I perform flaking brick repair?
A: Regular inspections are key. Ideally, inspect your brickwork annually for signs of flaking. Early detection and timely repair can prevent larger issues and extend the life of your brick structures.
Q: Can I do flaking brick repair myself or should I hire a professional?
A: Minor flaking can often be handled DIY with the right tools and techniques. However, for extensive damage or structural concerns, it’s wise to consult a professional to ensure safe and effective repairs.
Q: What are the best materials for flaking brick repair?
A: Choosing the right mortar and bricks that match the existing structure in strength and appearance is crucial. High-quality, weather-resistant materials ensure a longer-lasting repair.
Q: What causes flaking in brick structures?
A: Flaking in bricks is commonly caused by moisture intrusion, environmental wear, and sometimes poor quality materials or installation. Understanding these causes is essential for effective repair and prevention.
Q: How can I prevent flaking bricks in the future?
A: Preventative measures include regular maintenance, proper drainage to avoid moisture buildup, and using sealants to protect against environmental damage.


