
Understanding how to repair a brick chimney is crucial for maintaining the safety and integrity of your home. A well-functioning chimney is essential for proper ventilation and preventing potential hazards. This guide provides detailed, step-by-step instructions for homeowners looking to tackle chimney repairs. From identifying common damage to executing the repair process, this article covers everything you need to know to ensure your chimney remains in top condition.
Table of Contents
Understanding Brick Chimney Damage
When learning how to repair a brick chimney, it’s crucial to start by identifying common forms of damage. This section delves into the early signs of chimney wear, such as spalling bricks, crumbling mortar, and structural cracks. Recognizing these issues early can prevent more severe damage, ensuring the longevity and safety of your chimney. It’s a vital step in understanding the scope and nature of the repair work needed.
Recognizing Damage Signs
The initial step in learning how to repair a brick chimney involves identifying signs of damage. These signs include visible cracks in the bricks or mortar, bricks that seem loose or have fallen out, and mortar that appears to be crumbling or deteriorating. These issues, while seemingly minor, can escalate into major structural concerns and safety hazards if not addressed promptly.
Types of Chimney Damage:
- Spalling Bricks: This condition occurs when moisture penetrates the brick, leading to surface breakage and flaking. This not only weakens the structure but also detracts from the chimney’s aesthetic appeal.
- Crumbling Mortar: Mortar is the bonding agent for bricks. Over time, it can weaken and deteriorate, a process accelerated by harsh weather conditions. This deterioration can lead to loose bricks and an unstable structure.
- Structural Cracks: Cracks can appear in the chimney due to various reasons, including building settling and thermal expansion. These cracks might seem superficial but can lead to significant structural problems.
| Damage Type | Causes | Impact on Chimney |
| Spalling Bricks | Moisture penetration | Structural weakness, aesthetic decline |
| Crumbling Mortar | Age, weather conditions | Reduced stability, increased leakage |
| Structural Cracks | Settling, thermal expansion | Compromised integrity, potential collapse |
Preparing for Chimney Repair
Before starting the actual repair work, preparation is key. This section will guide you through the essential steps of gathering the right tools and safety equipment for how to repair a brick chimney. It includes a checklist of items like a chisel, hammer, mortar mix, and safety gear like gloves and goggles. Proper preparation ensures a safer and more efficient repair process.
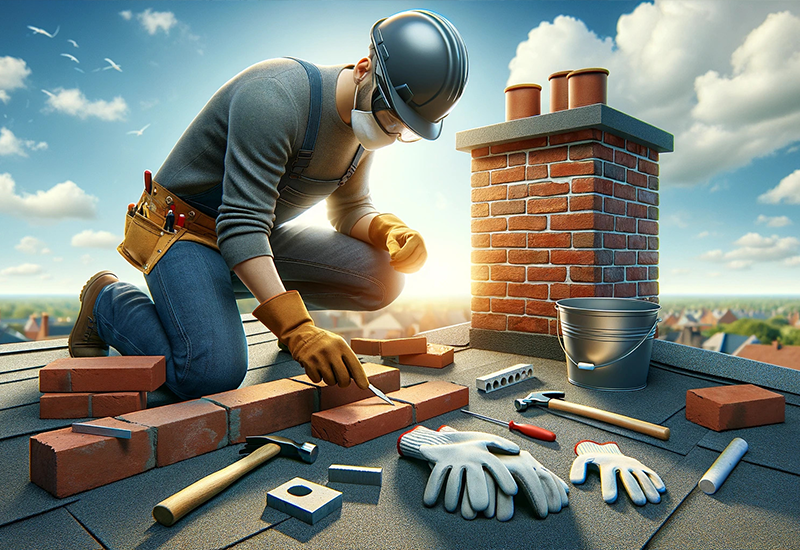
Safety First
Safety is of utmost importance when undertaking chimney repairs. Before beginning the repair process, gather all necessary tools and safety equipment. This includes a sturdy ladder or scaffolding, protective gloves, safety goggles, and appropriate clothing.
Tools and Materials:
- Chisel and hammer: For removing damaged bricks and mortar.
- Mortar mix: To replace old, crumbling mortar.
- Replacement bricks: If any bricks are beyond repair.
- Trowel: For applying and smoothing mortar.
- Safety gear: Including gloves and goggles for protection.


Step-by-Step Chimney Repair Process
In this critical section, you’ll be guided through a detailed, step-by-step process on how to repair a brick chimney. It covers everything from removing damaged bricks and mortar to correctly mixing and applying new mortar. The guide emphasizes the importance of each step to ensure a successful repair, culminating in a secure, aesthetically pleasing, and long-lasting chimney restoration.
- Removing Damaged Bricks and Mortar: The first step involves carefully removing any damaged bricks and mortar. This should be done delicately to prevent further damage to the surrounding bricks.
- Mixing Mortar: It’s essential to mix a mortar that closely matches the existing one in both color and consistency. This ensures a seamless repair and maintains the chimney’s aesthetic appearance.
- Replacing Bricks: Carefully place new bricks where the old ones were removed, applying mortar both under and between the bricks for a secure fit.
- Sealing Joints: Ensure all joints are filled with mortar for a watertight seal. This prevents future moisture penetration, which can lead to repeated damage.
- Finishing Touches: Once the mortar has been applied, smooth it out for a clean finish and remove any excess mortar from the brick faces.
Safety Tips:
- Always work in favorable weather conditions; avoid windy or rainy days.
- Use a secure and stable ladder or scaffolding.
- Avoid overreaching; move the ladder frequently to maintain a safe working position.
Regular Maintenance and Prevention
Regular maintenance is key to minimizing the need for future repairs. This includes annual inspections, particularly before the onset of winter, chimney cleaning to remove soot and debris, and applying water repellent treatments to protect against moisture damage.
Troubleshooting Common Repair Issues
During the repair process, you might encounter issues such as mismatched mortar color or unstable bricks. If these occur, it’s advisable to seek professional advice or use specific products designed to address these issues. This ensures the longevity and safety of your chimney repairs.
Conclusion:
In conclusion, mastering how to repair a brick chimney is an invaluable skill for any homeowner. By following the guidelines outlined in this article, you can ensure the longevity and safety of your chimney. Regular maintenance, coupled with timely repairs, will not only save you from costly renovations but also give you peace of mind. Remember, a well-maintained chimney is key to a safe and warm home.
FAQs:
Q: What are the initial steps in how to repair a brick chimney?
A: Begin by inspecting your chimney for signs of damage such as cracks, loose bricks, or crumbling mortar. This initial assessment will guide your repair process.
Q: How often should I inspect my chimney for repairs?
A: Regular inspections are crucial. It’s advisable to inspect your chimney annually, particularly before heavy use seasons like winter, to ensure it’s in good condition.
Q: Can I perform brick chimney repairs myself?
A: Basic repairs can be a DIY project. However, if the damage is extensive or involves structural issues, it’s safer to consult a professional.
Q: What are common mistakes to avoid when repairing a brick chimney?
A: Avoid using mismatched mortar, neglecting safety precautions, and incomplete removal of damaged materials. These can lead to further damage or unsafe conditions.
Q: How long does a typical brick chimney repair last?
A: The longevity of chimney repairs depends on the quality of materials and the accuracy of the repair technique. Properly done, repairs can last several years.